Kickr Design Conference Table
How extra scaps created one of our favorite projects to date
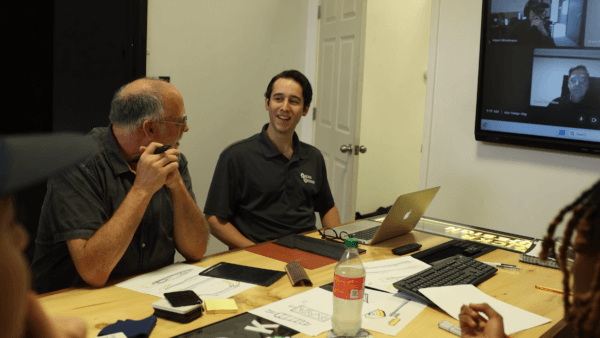
We had just finished a new conference room in our office space and we were looking for the perfect conference table. We had a few big slabs of wood and had always wanted to build a conference table, so our engineers put their minds together and we built one!
Our new table adds lots of elements from construction techniques, methodologies, prototype methods, etc. It exemplifies our brand and the unique abilities our team has. We didn’t just build a flat, square table. We added a lot of elements to it and saw a few challenges along the way.
Key Challenges to Solve
This table is a great case study because we started with something that we thought was going to be a pretty simple build. It’s just a conference table. But as we added features and functions that our team was really excited about, we saw that added to the scope. It was a little bit of “feature creep.” Along the way, there were also components that didn’t work out exactly as we had designed, and this also added some iterative time. We wanted to make the table base out of stainless steel but the stainless steel components were going to be prohibitively expensive, so we pivoted and did a little bit of redesign moving to an aluminum base. Those things take time, even if it’s just a small change.
- We had to change the original plan for the legs of the table due to cost, which meant we had to revise the design to account for this. Originally they were going to be stainless steel, but we revised the design to make them aluminum.
- We wanted to showcase different processes of what we could do, prototyping with multiple types of materials including stainless steel, SLS SLA, laser-cut aluminum, acrylic, and more.
- We started to build 3D CAD models of what the table could start to look like. We knew we needed to do something in the center to make it wide. We also had to do something on the ends to make it longer – how we were going to do that we weren’t quite sure.
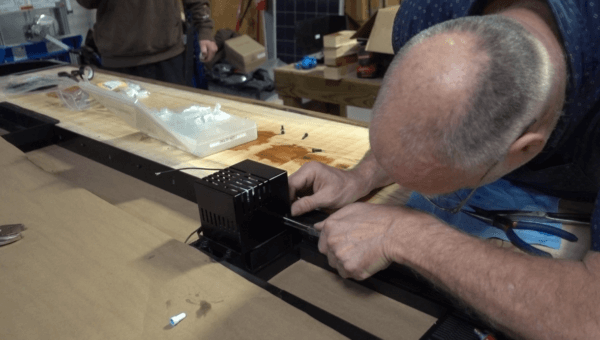
- The first motor that we had chosen to put in the middle of the table was extremely noisy and we had to go through a couple of different motor choices and controlling aspects to get it to a point where the gears were spinning at the speed that everybody was happy with.
Pivoting and reiterating to get it right
One of the coolest things about the table build was the reverse edge on the end caps with the Kickr Design logo. Our engineer did a test piece and forgot to invert the text because originally it was supposed to be on the bottom side. He used the laser to cut his stencil mask and so it etched into the acrylic a little bit as well as cut through it. When he sandblasted it and we shined the light onto it, it created this really cool 3D effect. That was one of those things that wasn’t planned on but we pivoted and it made it into something very spectacular to look at.
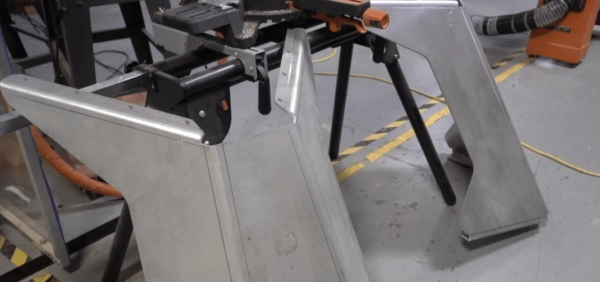
The legs are a formed sheet metal aluminum uh 3003 series it has to be that series because if you use like a 6061 you’re going to end up getting cracking um and originally those were actually supposed to be stainless steel but due to the cost we ended up going with aluminum and so we had to revise the design to make that thicker to account for the change in material.
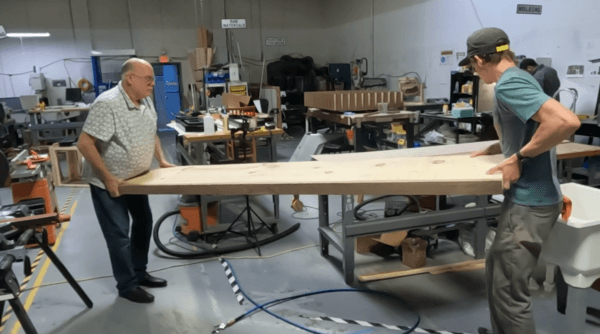
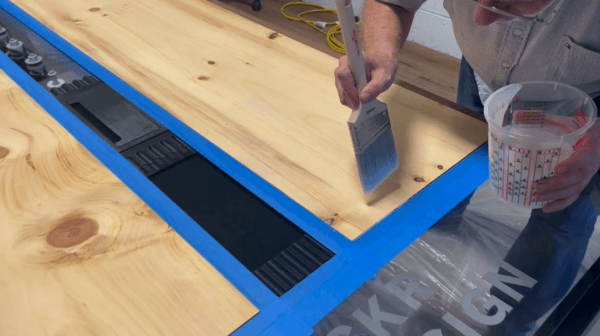
The slabs that are tabletop are all pine from an old table that we actually had here brought from Vermont.
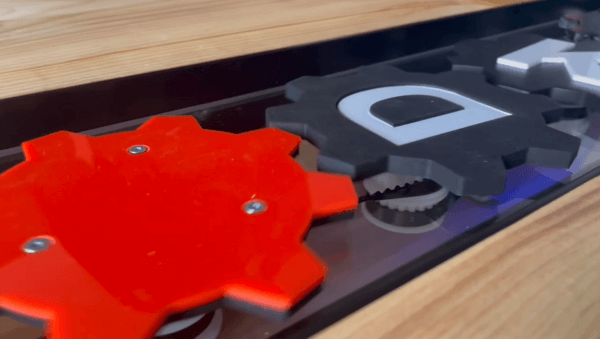
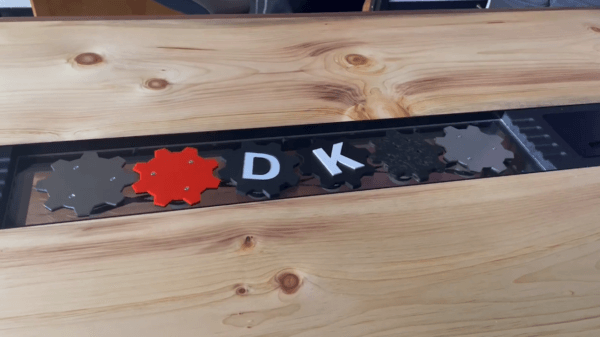
The two center gears with the K and D are SLA and MJF. Another thing that we didn’t realize until we got the parts was the MJF gear was supposed to have a recess but it didn’t come out in the print because it was so little. To pivot, we did a white laser-cut acrylic letter and glued that on top. That gives us a debossed logo the other one is embossed.

In addition to our K and a D in the middle, the end caps are glass with a sandblasted acrylic underneath which we sidelight with with some RGB LEDs. The light shining through the side of this thick piece of AC acrylic hitting that sandblasted logo surface illuminates the Kickr Design logo and it looks pretty neat.
Our manufacturing expert, Adam, did the carbon fiber gear. In order to do that, we started with a 3D printed positive and then he took epoxy and poured and made an epoxy mold. That way we could do the compressed carbon fiber.
The Results
Flexibility is really important. It’s about recognizing that there will be some challenges along the way, but we can overcome those challenges. We can brainstorm and think through different ideas or solutions, evaluate them against each other, and then come up with a path forward.